How to mirror shine your shoes
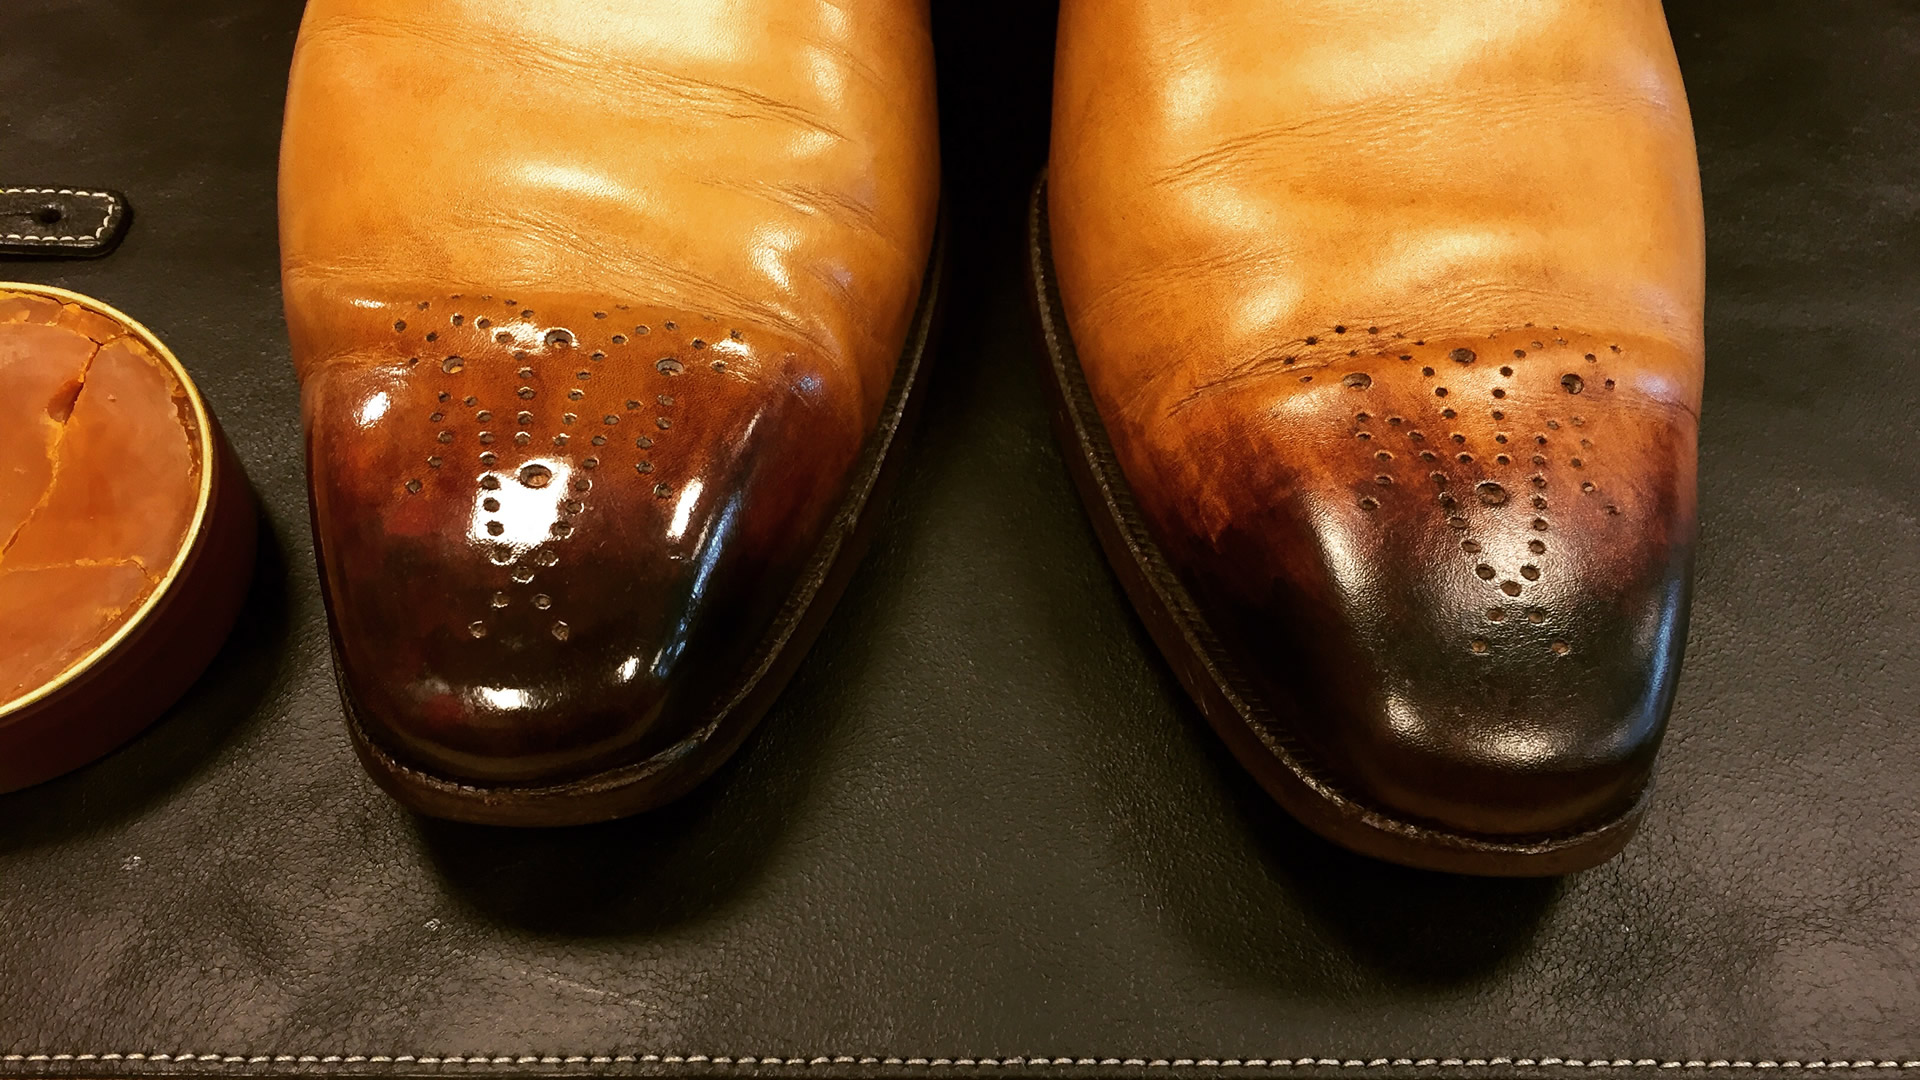
For anyone who wants the ultimate shine on their shoes, there is mirror shining. It will give the tip of your shoes the perfect high gloss. The secret of mirror shining lies in the multiple thin layers of shoe wax, and the shining of these layers. Curious? These steps will guide you through the process and give you the ins and outs of a good mirror shine.
A mirror shine is generally only applied to the toe box of shoes and in some cases also on the heel since these part of the shoes don’t flex while wearing them. Applying a mirror shine on other parts of the shoe makes no sense as the wax will crack when the leather flexes.
Before you start with a mirror shine, it can be useful to clean your shoes and get rid of the old polish. It isn’t always needed – depending on the state of your shoes – but it can help to get a mirror shine more easily. Old layers of shoe polish can contain dirt, sand and dust – which can stop you from achieving that mirror shine you desire.
To clean your shoes you can wash your shoes with either Saphir Saddle Soap or Saphir Renomat. After you’ve washed your shoes, nourish and shine them the normal way – as explained in this article. Recommended is to use a coloured shoe cream to recolour your shoes – this helps to get a higher gloss.
High Gloss
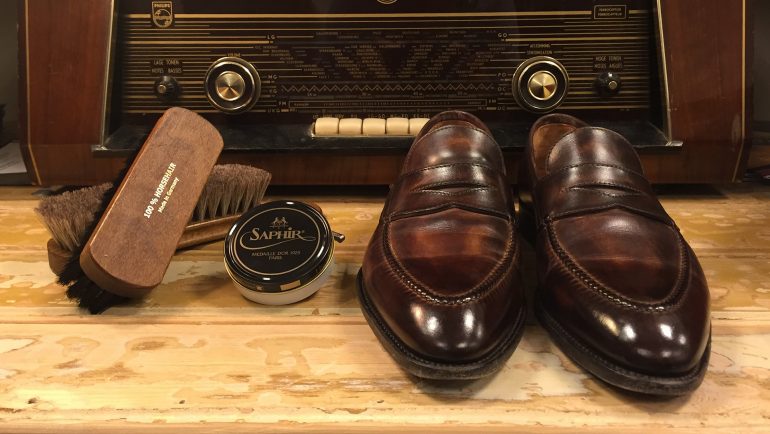
Once you’ve gone through all the necessary steps to wash, nourish and shine your shoes, you can start working on the mirror shine – also known as ‘glazing your shoes’. The basic principle is applying thin layers of shoe wax and shining each of the layers in between. The layers even out the coarse structure of the leather. Note that some shoes are made of finer leather than others – so one pair might take longer to mirror shine than another.
We recommend working with Saphir Medaille d’Or Mirror Gloss it is famous for its great shining quality. If you prefer to use a different brand of shoe polish make sure you use a natural beeswax based shoe wax. If you don’t, you risk damaging the leather.
Before you start
- It is easier to create a mirror shine with a coloured shoe wax. For example, black or dark brown wax for black or dark brown shoes often give the best results. Lighter coloured shoes can be treated with a neutral wax, but can take longer to produce the result you wish to achieve.
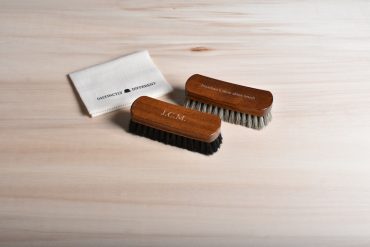
- Use a cotton cloth so you don’t scratch the shoe wax when you apply a layer. If you scratch the layers, you can’t get a mirror shine.
- Wrap the cloth around your index and middle finger, so you have a small and smooth surface to shine with. Watch this video for more details
The first layers (1-3)
Apply a little shoe wax to the cloth and massage the wax into the leather of your shoes. Make sure you hold the cloth as shown in the video. The general rule is to use as little shoe wax as possible, but for the first three layers, you want to use slightly more since you are trying to cover the structure of the leather with layers of shoe wax.
Once you’ve finished one layer on your shoe, start with the other shoe so the wax can dry into the leather a little bit. As soon as you’ve finished the second shoe, you can go back to the first one and shine the wax. Do this with a horsehair shine brush until you are happy with the result. Finish shining the leather with a shine cloth, rubbing it with low pressure and quickly over the toe cap to create heat. The heat melts the wax evenly over your shoe, making it as smooth as can be. Do this in between all the first three layers.
After the third layer, you can check if you’ve used enough shoe wax, simply by touching the leather with your fingers. If you can still feel the structure of the leather clearly, you might want to apply another layer. If you only feel it slightly or even better, not at all, you can continue with the finishing of your mirror shine.
Tip!: Do not use too much pressure to shine the leather. The weight of your fingers is often enough. If you press too hard with the cloth it might rub the wax off the shoes.
Building up your shine (layers 4 and up)
Apply the next layer of wax, but from now on, really try to use as little wax as possible. A little water will help to distribute the wax more evenly over the leather, which we will explain later.
Use just enough wax to cover the toe cap, but don’t apply a thick layer. The shoes should have already built up a visible, glossy wax layer, because of the three layers you’ve applied earlier. Once you’ve applied the layer, let it dry.
Wait a few minutes and shine the wax using only the cotton cloth. Again, use only two fingers inside the cloth as explained earlier in the video. It enhances the heat, which causes the wax to shine more. Before you start, drip two small drops of water on the toe box of your shoe; the water will help to distribute the heat, creating an even layer of wax.
Tip! : Just before shining the wax, apply a drop of water onto the leather that you are about to shine. The water will help evenly distribute the heat through the wax and give you a nice even shine.
Apply as many of these layers as you wish, until you’ve reached the shine you were hoping for. Keep checking your progress in between the layers by touching the leather to feel if it is smooth already. On average it takes us about 6-7 layers of wax to get a mirror shine, depending on the type of shoe wax, leather and the technique you use.