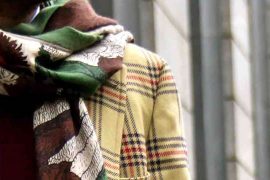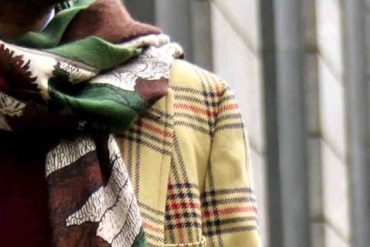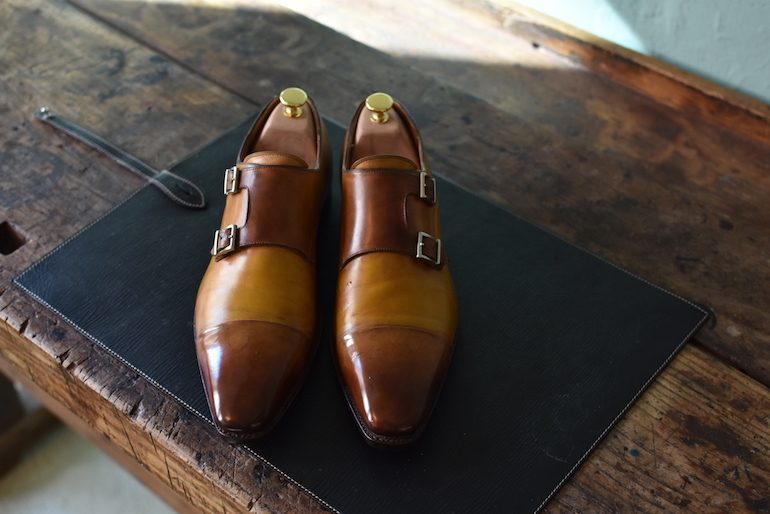
This time in the Shoe Revival Month we are working with a pair of Santoni Double monk strap shoes. This pair had the following attention points:
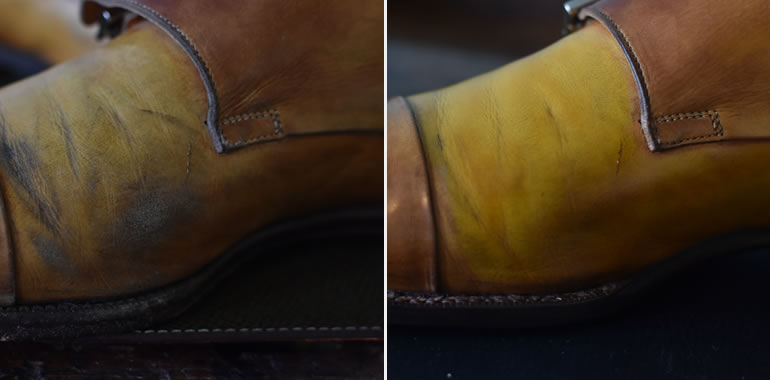
- Black stains on a majority of the shoe (originating from a combination of water damage and wear and tear)
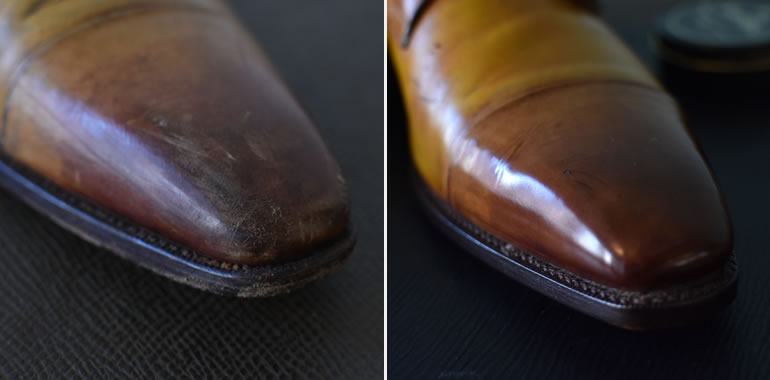
- Scratches and damage on the nose of the shoe
- Heels and soles of the shoe were in need of replacement
The process step-by-step with the used products:
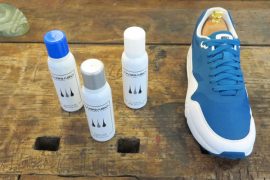
- Thorough cleaning with Saphir Renomat (2x)
- Treated the black stains with Winter Hiver (2x)
- Painted the shoes with Teinture Francaise shoe paint, in the colour fauve yellow.
- After the cleaning and painting, we fed the leather with Saphir Renovateur.
- Then we treated the nose and heel of the shoe with Saphir Médaille d’Or Pommadier cream (colour 05) and the rest of the shoe with 03
- And to finish the treatment we gave the shoes a good mirror shine with Saphir Médaille d’Or Mirror Gloss (5x) and Saphir Médaille d’Or Pate de Luxe (1x)
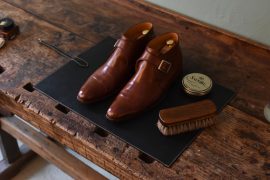
We also used:
- Set horsehair brushes
- Cotton applicator cloth
- Cotton polishing cloth
- Water dispenser
- Leather shoe shine carpet
Cleaning, feeding and colouring
Because of the dull colour and the many damages the shoe had, we first decided to give the shoe a thorough cleaning with Saphir Renomat. After getting rid of the old wax and cream layers we focussed on removing the black stains with Saphir Winter Hiver. Now that the shoe is fully stripped we started with painting the shoe, which we did with Saphir Teinture Française Shoe Dye. After the cleaning and painting, we used Saphir Renovateur to revive the leather.
Mirror Shine
As with the other pairs, we finished this pair with a good mirror shine too. Because of the nose and the heel of the shoe being a darker tint than the rest of the shoe, we used two different kinds of shoe cream. For the nose and heel we use colour 05 and for the rest of the shoe we used 03. And finally, we finished the shoes with Saphir Médaille d’Or Mirror Gloss (5x) and Saphir Médaille d’Or Pate de Luxe (1x).
We will give you a short summary of the process:
- We first applied a layer of Pate de Luxe to the entire shoe. Afterward, you give them a quick shine using a brush.
- Moving on to the Mirror Gloss. The first two applications we use a fair amount of shoe wax. This is to fill out the structure of the leather. The wax hardens and creates a smooth surface which you make shiny by buffing it with a cloth. It is also perfectly fine to use a brush to quickly shine these two first layers of Mirror Gloss. Just make sure to be thorough.
- Layers 3-5 we continue to apply and shine Saphir Mirror Gloss, but now we only use cloths for the shining. Apply small amounts of wax from now on, let the wax dry for a minute and then shine the wax using your cloth. Use circular motions and make sure not to put too much pressure while shining. This can cause you to rub the wax off the leather which you just applied. The weight of your fingers is sufficient pressure most of the times.
- End your mirror shine with a layer of Pate de Luxe. Pate de Luxe contains more solvent and oil than Mirror Gloss. That is why it is categorized as a soft wax compared to Mirror Gloss. The solvents and oil will smoothen out the hard mirror gloss making it an even more glossy surface than before. Also sometimes the Mirror Gloss will “fog up”, you can use Pate de Luxe to cure this as well.
*Almost in all cases we choose to only mirror shine the nose and heel part of the shoes since those are the inflexible parts of the shoes. Wax dries up as a hard layer and will crack when flexed during walking.